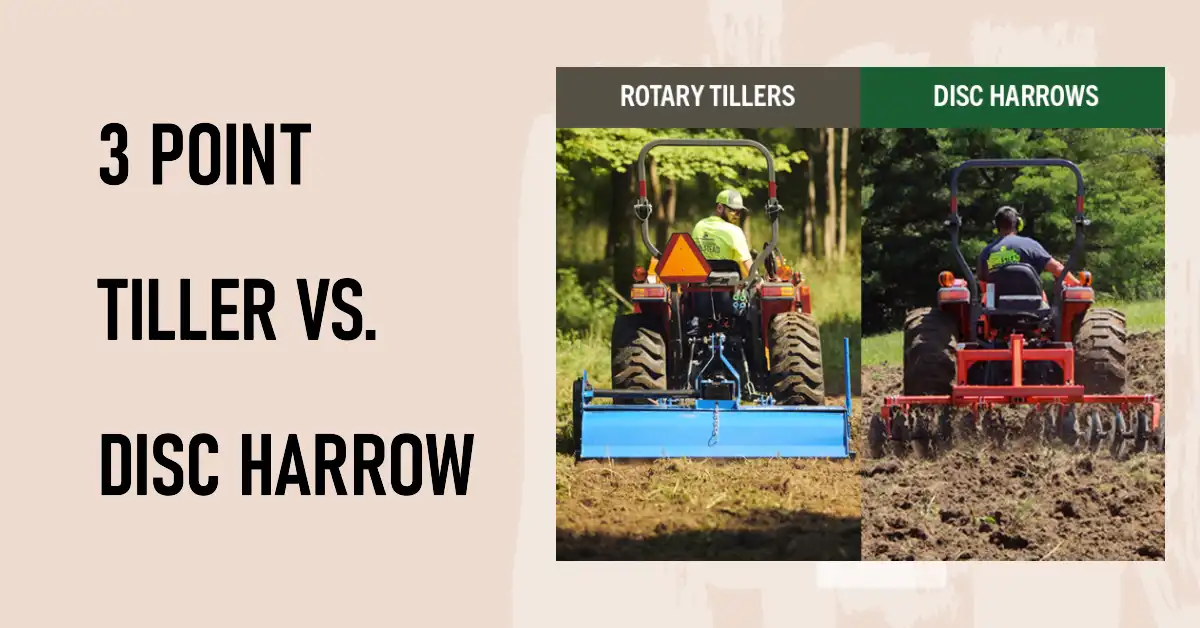
Tilling is an agricultural practice that turns and breaks the soil. The extent to one which tills and how fine they break the soil depends on the purpose that has to be done.
Understanding the importance of tilling, there are now available special equipment, which is popularly known as tillers. These machines are an ideal choice for large areas; however, they can also be used for small area, as there are various shapes & sizes they come in.
Why Till
The main reason behind tilling is mixing the amendments into the soil. Another reason is severely compacted soil that needs to be broken up.
You may not know but this wonderful agricultural task removes weeds as well as unwanted roots. Moreover, tilling can turn the sod over, which blends organic matter from the grass into the soil; thereby, creating the base for a garden bed. Hence, if you are planning to turn a part of your lawn into a garden bed, this could help.
Tilling for Best Results
When the soil is good, roots can easily and quickly develop & spread. As a result, water and nutrient intake, which is important for productive and healthy plants, increases.
Tilling a Garden
When TILLING, it is recommended to wait for few days after rains, as the dirt is semi-dry. With little moisture, it gets easy to till the soil. Here, it is good to know that too wet soil clumps and dries into hard lumps that aren’t easy to break.
If you have been looking for right ways to till a garden, check out the below-given steps carefully:
1. Remove sticks, rocks and other debris. Talking about existing gardens, pull the thick weeds or vegetation that can possibly entangle in the tiller tines. Smaller weeds will be chopped up by the machine.
2. For the appropriate depth, set the tiller. For hard and compact soil, use a shallow setting. As far as the soft ground is concerned, start at medium setting.
3. Follow the manufacturer’s direction to operate the equipment.
4. Engage the tines to slowly make parallel passes.
5. After the garden is tilled, adjust the tiller to the deepest setting. Make passes perpendicular to the first set of passes. Walk gentle & slow and allow the machine to perform its task.
6. After breaking up the ground, feel free to work any amendments into the soil. Create passes along the length of the garden along with passes across the width.
7. Until the organic matter gets properly mixed, carry on the tilling.
8. Let the organic material and nutrients to enrich the soil for a few days or weeks before.
9. Use the tiller to make passes back and forth across the garden. This will aerate it besides ensuring the nutrients are well-blended.
10. Make the final perpendicular passes by setting the tiller to a deeper setting.
Things to Remember
Refrain from overworking the soil, as it may create a base for soil compaction.
Clean the tines time to time during and after TILLING.
Remove rocks and debris to protect the tines.
Different Ways To Till
Tilling the ground before planting can be done in few ways. Some of these are:
Though a two-wheel tractor; wherein the tiller is hooked up on to the back of the tractor and pulled to break the soil.
Thorough a small sized hand tractor, which has two handles.
Through shovel and brute strength; however, it involves stamina and gives less neat work than tillers.
Benefits of TILLING
Destroys in-row weeds in effective and efficient way
Minimizes agricultural loss by keeping away mice, insects, etc.
Helps with chemical composition.
Apart from aerating and conditioning the soil, it promotes microbe activity.
Improves water penetration; thereby, saving expenses on irrigation.
Cultivates the strip and protects shallow root systems.
Gives the property a neat and appealing look .
Loosens the soil to allow seed-sprouts to sprout and get sunlight consistently.
So, this was all about tilling and its contribution to agriculture. With this little piece of information, you can make the best out of it and reap incredible benefits without killing time & efforts.


