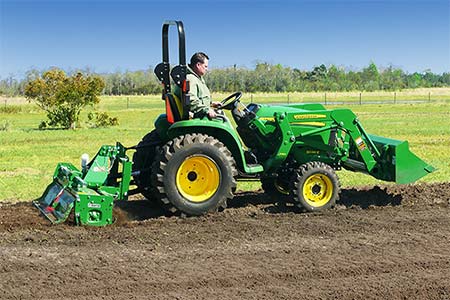
One of the most essential tools for the hobby and experienced farmer alike is the tractor tiller. By simplifying the preparation of your farm these pieces of equipment can make your life easier and your farming more enjoyable. But what is a tractor tiller, and how do you use them?
Tractor tillers are an attachment that utilizes the PTO shaft on tractors. They make for efficient and effortless tilling so you can get your farm ready for planting without breaking a sweat. They are easy to use and maintain, and are an essential tool for any farmer out there.
In this article I am going to go over what a tractor tiller is, and I’m going to give a quick overview of how to use and maintain your tiller so you can count on it year in and year out to get your farm ready for planting. These instructions are for all tillers in general but if you have machine specific question you should reference the owner’s manual specific for your model; these are supplied with your tiller, but they can also be found online.
How To Connect a Tractor Tiller
It is important to make sure that the tiller you are using is wider than the wheelbase of the tractor. This ensures that there are no wheel tracks in the soil. If the tiller is slightly smaller than the wheelbase you can offset it to one side or the other when connecting it to get the same finished result.
The first thing that you want to do when hooking up a tiller to the three-point hitch system on the rear of the tractor is to back right up to the tiller. It is important that you line up the three hitches accurately as the tiller will oftentimes be too heavy to move.
Next what you are going to want to do is line one of the bottom two link arms with the respective hitch on the tiller and secure it with the lynch pin. After that you need to connect the remaining bottom link arm the same way. In a perfect world the second hitch lines up no problem, but you may have to back the tractor up or pull it forward a little bit to make the connection.
The remaining top link is connected in a similar fashion. The main difference is that the pin for the top link passes through both the top link and the tiller unlike the lynch pins used for the bottom two link arms.
In order to prevent any unnecessary swinging it is important to hook up the stabilizers to the bottom two link arms. Stabilizers are little turnbuckles on the rear end of the tractor that when connected, and tightened correctly, prevent the tiller from swinging back and forth and getting into the tractor’s tires and causing damage.
As a safety precaution for the final step in connecting the tiller you are going to want to make sure the tractor is turned off. It is important that you make sure your PTO shaft is properly greased before each use. If it is properly greased then you can continue making the connection by sliding back the collar on the PTO and then connecting it to the PTO shaft on the tractor.
Adjusting Tailgate and Skids
To achieve the desired depth and consistency of the soil in your farm you may have to do some adjusting. To control the depth on your tiller you can adjust the skids on both sides of the tiller to make it go deeper into the soil or stay closer to the surface. You can also control how fine the soil ends up by adjusting the height of the tailgate on the back of the tiller.
In order to adjust the depth of tilled ground you need to locate the skids on the side of the tiller and remove the bolts from both sides. This allows you to move the skid up and down to the desired depth. The lower the bolt hole on the skids the deeper the tiller will go.
It is important to remember that the deeper the tiller is set to till the harder it has to work. You also need to consider the tine count; a higher tine count means you need more horsepower. With these two factors in mind you may want to test out the depths gradually to avoid possible damage to the tiller or PTO shaft.
The tailgate on the back of the tiller is easily adjusted with a chain; this allows you control the consistency of the dirt by either allowing or preventing big clods of soil to pass through the back of the tiller. The lower this gate sits the finer your soil will be when you are done tilling.
Something to keep in mind when you are adjusting the tailgate is the type of soil you are going to be tilling. Different soil types have an optimal consistency for planting and it pays off to take the time and figure out what kind of soil you are working with ahead of time.
Basic Maintenance
The first thing you need to do when you get your tractor tiller is to locate and read the owner’s manual which should have been provided with your tiller. This allows you to familiarize yourself with the oil and grease specs as well as model and brand specific maintenance differences. If you can’t find the owner’s manual, there is a vast collection of them for all makes and models online; you should be able to find your model’s with a simple search.
Something to keep in mind when it comes to maintenance on your tiller is that while used ones might, new tillers don’t come with oil already in the gearbox. This is why it is important to check the oil-level in your gearboxes before every use.
Adding Oil To the Gearboxes
It is crucial to regularly grease your tiller as well as your PTO shaft to ensure the longevity and functionality of your equipment. Like the oil in the gearbox you may have to add more the first time you use it than you will anytime after that.
There is a hub on the side of the tiller opposite the gearbox. If your tiller is brand new you need to hit it with around twenty pumps of grease the first time. You then need to put about five pumps of grease into the hub before each use to ensure proper lubrication.
1. Locate and remove the vent plug at the top of the gearbox.
2. Make sure air can pass through the vent plug.
3. Locate and remove the fill level plug on the side of the gearbox.
4. Fill the gearbox with the oil type specified (usually 80W90) in the owner’s manual until it starts to trickle out of the fill level hole on the side.
5. Wipe any oil off the side of the gearbox and replace both of the plugs.
6. Repeat steps for any additional gearboxes on the tiller.
Greasing the PTO
The only remaining maintenance you might have to perform in the future would be maintaining the tines. These are the metal blades on the bottom that actually till the soil. They are usually self sharpening so you don’t have to worry about that, but sometimes they can become damaged by rocks, or root systems in the soil.
1. Start by sliding the PTO shaft apart into its two pieces.
2. Remove the plastic cover off the piece with the smaller tube by using a screwdriver to release the clips.
3. Wipe away any of the old grease from the outside of the tube.
4. Add a couple pumps of grease to the outside of the tube.
5. Wipe the grease until there is an even coat all around the outside of the tube.
6. Replace the plastic cover making sure all of the clips are back in place.
7. Put a few pumps of grease into the larger of the two tubes.
8. Reassemble the PTO shaft by sliding the smaller tube back into the larger one.
The tines are connected to the rotor by bolts and can easily be replaced by undoing the bolt(s), removing the old tine(s), and securing the new one in its place.
The regular cleaning and maintenance of your tractor tiller is the number one thing that will ensure you can use the equipment as long as possible. If properly cared for these tillers can, and should, last for decades. What I talk about here is just a general overview of tractor tiller maintenance, but if you have any questions about your machine’s specific model, you can almost always find the answer in the owner’s manual.
Conclusion
Tractor tillers are arguably the most essential piece of equipment for any farmer, at any experience level. They not only make the farming process much faster but it makes the overall farming experience much more enjoyable and relaxing. The great things about these tillers is that the maintenance is incredibly simple, and it can all be performed by the owner at a minimal cost.

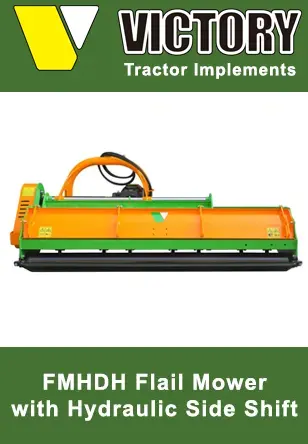
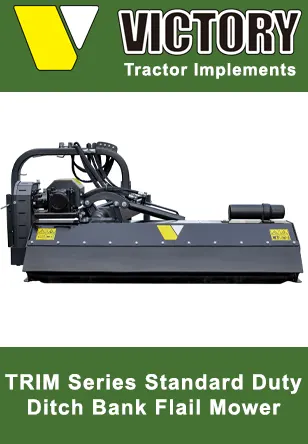
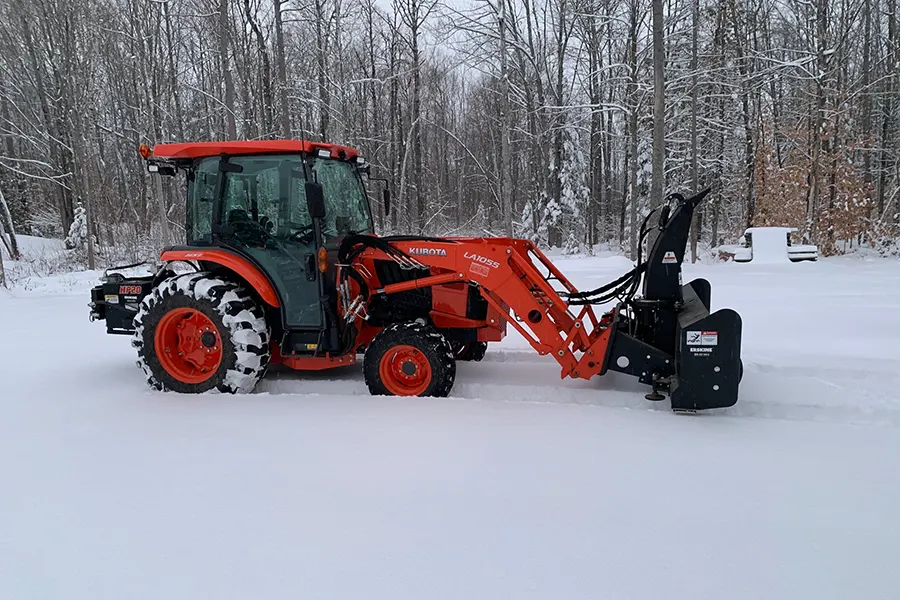
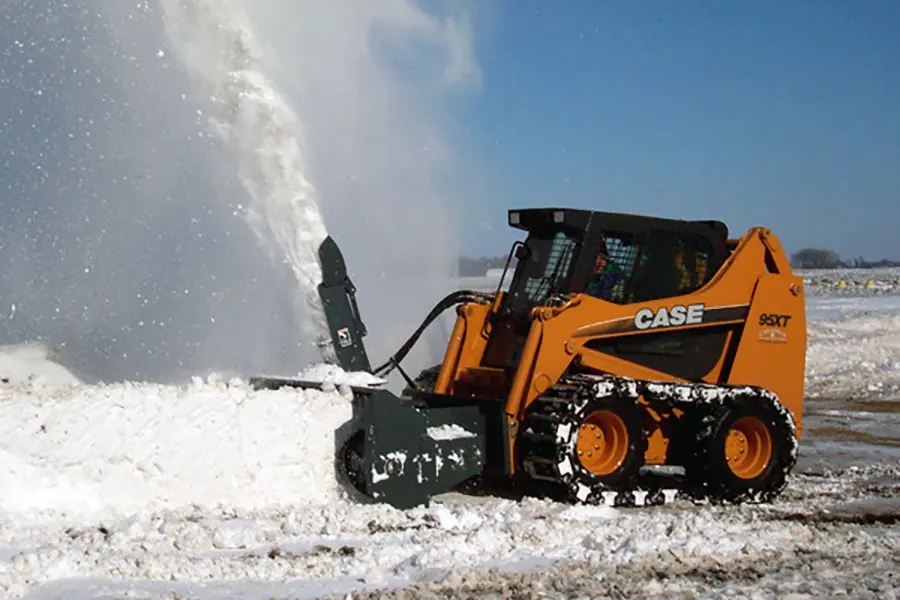
Victory Tractor Implements is proud to offer a wide range of products including flail mowers, wood chippers, rotary tillers, and backhoes, all designed to be connected directly to your tractor’s PTO for maximum efficiency and performance. In addition, we also offer winter equipment such as snow plows and snow blowers, designed for use with skid steers.
We source all of our equipment directly from the manufacturer and pass the savings on to our customers. As always, the team is standing by to answer any questions to assist with your decision. Victory support can be reached directly at (562) 534-8182 or sales@etractorimplements.com




Good info and helpful for me as a first time owner/user of a rotary tiller. In my experience, a few pictures/photos wood add benefit to the reader. Thanks for putting this together.