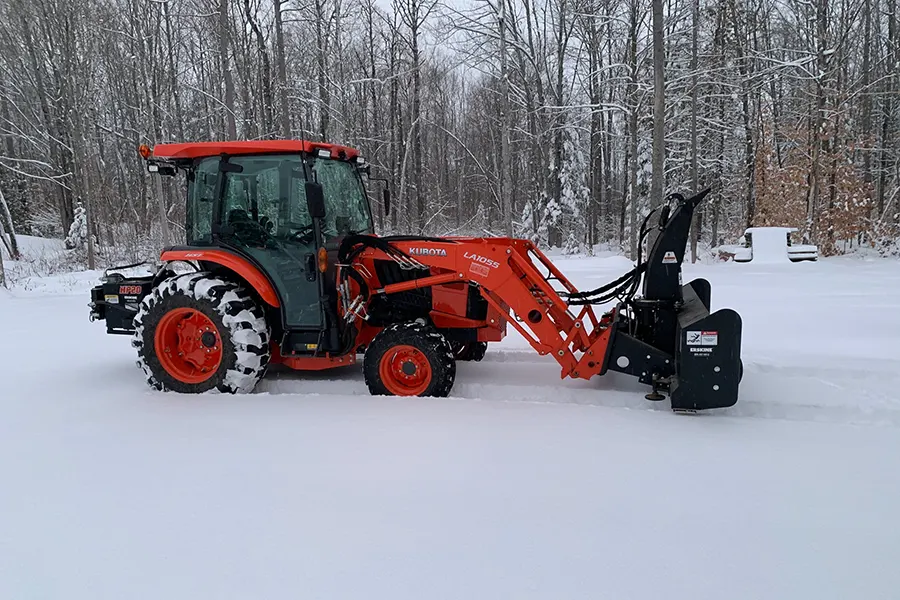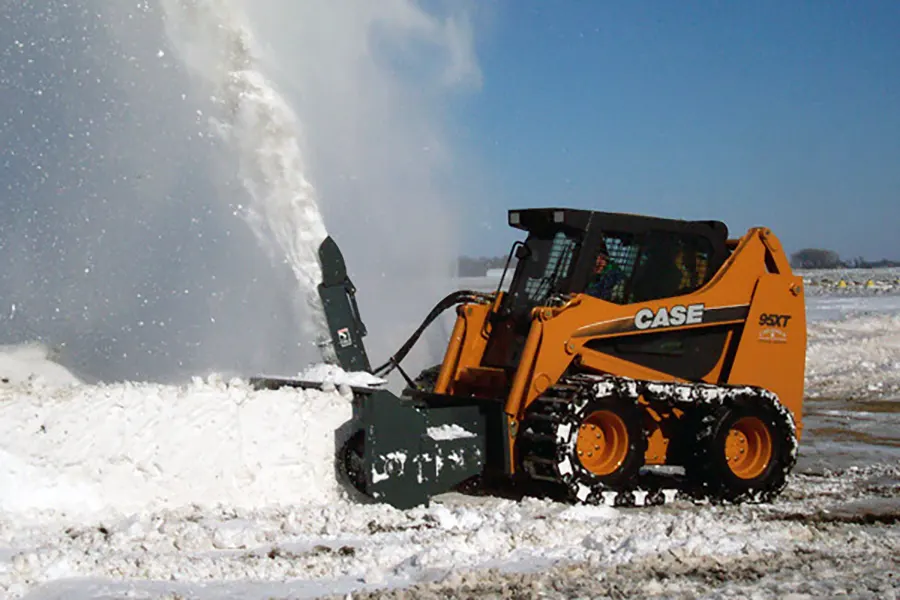
If you purchased one of our snowblowers (see our Winter Equipment → Snowblowers lineup) and prefer to run the chute directly from your skid steer joysticks instead of the included external control box, this guide walks you through the options and the exact parts you’ll need.
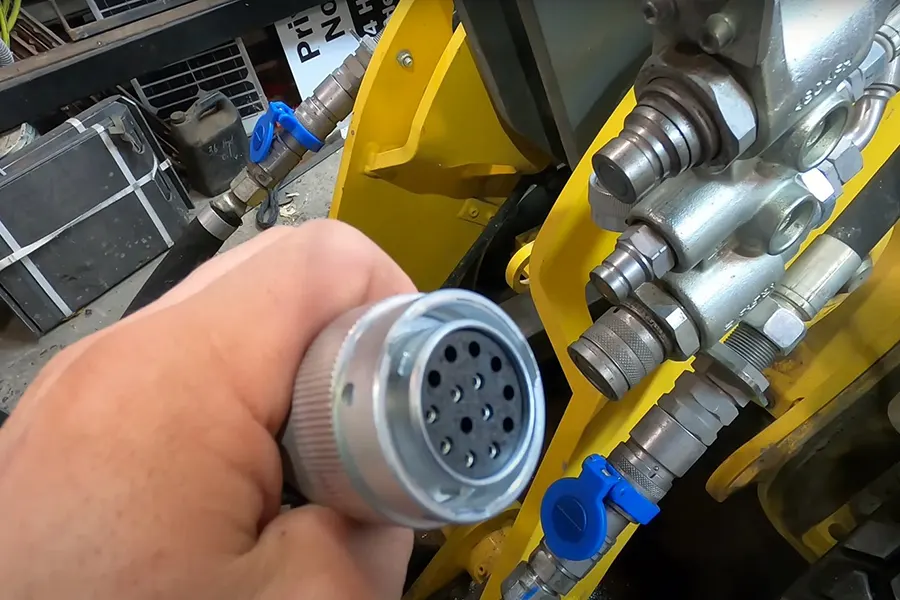
Our snowblower chute systems use four 12-VDC solenoids with DIN (Form A) coil connectors—typically two for chute rotate (L/R) and two for deflector (Up/Down). That means you need a machine-side harness/controller that outputs 12V to four circuits and in the case of 8-pin connectors, adapters from Deutsch to DIN to plug straight onto the solenoids.
Below are proven, off-the-shelf configurations organized by machine connector type.
Quick Reference: Choose Your Path
Bobcat® 7-pin (CAN) → Use a 7-pin controller that translates the joystick buttons into four 12V outputs (no external box needed):
- Controller: SG-CB-4000-108K (4-port) – DIN Jumper Kit (Skid Steer Genius)
ASV & Caterpillar (A/B/C series 8-pin) → Use an 8-pin machine-side harness that breaks out to four attachment leads:
- Harness: SG-BPH-8-4-9DP (8-pin female → four outputs) – Deutsch (Skid Steer Genius)
- Adapters to your DIN coils: SG-DTR-DIN Deutsch-to-DIN cables (one per coil) (Skid Steer Genius)
14-pin (Case, Deere, New Holland, Takeuchi, Kubota, JCB/Volvo, Mustang, Yanmar, Cat after 2014, Wacker, etc.)* → Use a 14-pin machine-side harness with six outputs (you’ll use four):
- Harness: SG-BPH-14-6-9DP/DT (14-pin female → multi-output harness) – DIN (Skid Steer Genius)
(We’ve linked to Skid Steer Genius because their harnesses/controllers are widely used, clearly documented, and designed specifically for skid steer attachment control.)
How It Works (in plain English)
- Your machine sends commands (via buttons on the joysticks).
- The machine-side harness/controller converts those commands into 12V power on individual wires.
- Each energized wire feeds one solenoid coil on your attachment.
- The Deutsch→DIN adapter (when applicable) simply changes the connector style so the wire can plug onto your valve coil.
Result: Your joysticks now run Rotate Left/Right and Deflector Up/Down without the external control box.
Step-by-Step: All Configurations
- Park safely & depressurize. Shut down, set the brake, relieve auxiliary hydraulics. Disconnect the external control box power if installed.
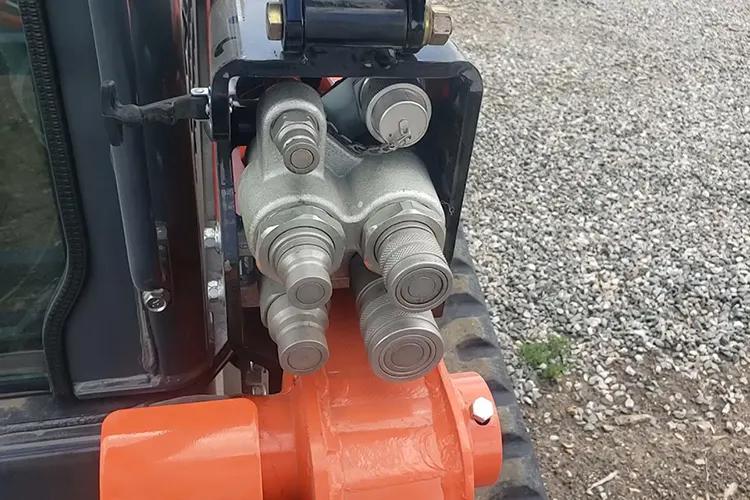
- Locate the four solenoid coils. You’ll see DIN Form A connectors on each coil cap (rectangular, center screw). (Control.com)
- Mount the machine-side harness/controller.
- Bobcat 7-pin: Plug the SG-CB-4000-108K into the Bobcat 7-pin port on the boom. It’s purpose-built to decode Bobcat’s CAN and provide four 12V outputs for attachments. Follow the product setup notes for button mapping. (Skid Steer Genius)
- 8-pin (ASV/Cat A/B/C): Connect SG-BPH-8-4-9DP to your machine’s 8-pin port. You’ll get four powered leads (Deutsch). (Skid Steer Genius)
- Add Deutsch→DIN adapters on each output lead and plug each adapter into a DIN coil on the valve. Tighten the coil cap screw if needed (don’t overtighten). (Skid Steer Genius)
- Add Deutsch→DIN adapters on each output lead and plug each adapter into a DIN coil on the valve. Tighten the coil cap screw if needed (don’t overtighten). (Skid Steer Genius)
- 14-pin (multi-brand): Connect SG-BPH-14-6-9DP/DT to the 14-pin socket. It’s pinned to a common layout used by many brands and brings out multiple 12V outputs (you’ll use four). (Skid Steer Genius)
- Bobcat 7-pin: Plug the SG-CB-4000-108K into the Bobcat 7-pin port on the boom. It’s purpose-built to decode Bobcat’s CAN and provide four 12V outputs for attachments. Follow the product setup notes for button mapping. (Skid Steer Genius)
- Assign functions & test.
- With the machine idling and hydraulics enabled, briefly tap each joystick button and note which solenoid clicks/acts.
- Label the four outputs: Rotate L / Rotate R / Deflector Up / Deflector Down.
- If Rotate and Deflector are reversed, swap the Deutsch→DIN plugs accordingly—no repinning required.
- With the machine idling and hydraulics enabled, briefly tap each joystick button and note which solenoid clicks/acts.
- Cable management. Secure the harness and adapters away from moving parts and sharp edges. Leave drip loops to shed moisture.
- Final check. Cycle each function 5–10 times. If a function is inverted on a motor circuit (not common here), some controllers support polarity swap; for solenoids (on/off), you just place the output on the correct coil. (Bobcat 7-pin controllers from SSG also provide motor/actuator control options in certain modes.)
Configuration Details & Notes
A) Bobcat® 7-pin (CAN) → 4 Solenoids
Use SG-CB-4000-108K. It plugs into the Bobcat 7-pin and provides four 12V outputs mapped to your joystick buttons; order it with the DIN jumper kit if you want to skip separate adapters (Skid Steer Genius)
B) 8-pin (ASV & early Caterpillar A/B/C) → 4 Solenoids
Use SG-BPH-8-4-9DP. It connects to your 8-pin machine socket and breaks out four powered leads (Skid Steer Genius). Add SG-DTR-DIN adapters to each DIN coil. (Skid Steer Genius)
C) 14-pin (Case, Deere, New Holland, Takeuchi, Kubota*, JCB/Volvo, Mustang, Yanmar, Cat after 2014, Wacker, etc.) → 4 Solenoids
Use SG-BPH-14-6-9DP/DT. It’s pinned to the common 14-pin standard across many brands and exposes multiple outputs (you’ll typically use four). Add SG-DTR-DIN adapters to plug into the DIN coils. (Skid Steer Genius)
Technical Tips (worth skimming)
- Connector type on your valves: DIN EN 175301-803 / DIN 43650 Form A (the common rectangular coil connector with center screw). Ensure your adapters say DIN / Form A. (Control.com)
- Voltage: 12 VDC coils (standard on our snowblowers).
- Polarity: Solenoid coils aren’t polarity-sensitive in most cases; if the wrong function actuates, just move the output to the correct coil.
- Current draw: Typical coils draw ~0.5–1.5A each. Any of the harness/controller options above are intended for on/off solenoids.
- Waterproofing: Make sure the DIN gaskets are intact; Form A connectors are available with different gasket materials (NBR/EPDM) if you need extra resilience in wet/icy conditions.
- Cable length: The SG-DTR-DIN adapter is offered in 6″ and 108″ to help you reach each valve bank cleanly. (Skid Steer Genius)
Safety & Warranty Notes
- Always de-energize and depressurize before working on hydraulic/electrical systems.
- Keep harnesses away from pinch points, augers, chains, and hot surfaces.
- Use dielectric grease on connectors in winter conditions.
- If you’re unsure about your machine’s pinout, consult the OEM manual or contact (Skid Steer Genius) with your make/model/serial.
Electrical modifications are customer-performed; improper wiring can damage coils or machine electronics. If in doubt, ask us before powering up.
Disclaimer: The information provided in this blog post is for informational purposes only. Victory Tractor Implements and its affiliates, authors, and contributors are not responsible for any damages, injuries, or losses that may result from the application of the information provided. It is the reader’s responsibility to ensure that any modifications or installations are done correctly and safely. Always consult with a professional or expert before making any changes to your tractor or equipment.
![]()
Victory Tractor Implements is proud to offer a wide range of products including flail mowers, wood chippers, rotary tillers, and backhoes, all designed to be connected directly to your tractor’s PTO for maximum efficiency and performance. In addition, we also offer winter equipment such as snow plows and snow blowers, designed for use with skid steers.
We source all of our equipment directly from the manufacturer and pass the savings on to our customers. As always, the team is standing by to answer any questions to assist with your decision. Victory support can be reached directly at (562) 534-8182 or sales@etractorimplements.com